Running Unit Tests as part of Continuous Integration of VSTS / VSO
Tags: Azure, CI, Powershell, VSO, VSTS
In my previous blog I explained how to setup from scratch and deploy to Azure using VSTS. As I mentioned in the blog I left the configuration of Unit Testing for another time.
In this article I will explain how you set up and run your Unit Tests as part of CI/CD process using VSTS.
There are a few ways to setup Unit Tests depending on what you want to achieve. We can run the Unit Tests from a PowerShell script or we can use the Visual Studio Test build step which VSTS team created for us. Let’s start with PowerShell first.
We’ll use the same project as in the previous post – OfficeInventory. The Unit Test project is a standard .NET library using xUnit library. The process will be similar if you use a different Unit Test library, like NUnit.
Configuring PowerShell
When using xUnit you should make sure that the console runner is added as package so it will be restored during the build. We will use the console application to run the Unit Tests.
At the root folder of the project – the same level with .sln I added the Scripts folder. The folder will contain run-unittests.ps1 PowerShell script.
We provide two input parameters to the script, the xunit console application path and the path we want to search for the tests projects.
param (
    [Parameter(Mandatory=$true)][String] $xunitConsole,
    [Parameter(Mandatory=$true)][String] $sourceDirectory
)
Next we’ll search for all the Unit Tests files we want to test excluding Java Script projects.
$assembliesToTest = (Get-ChildItem "$sourceDirectory" -Recurse -Include "*Test*.dll" -Exclude "*JavaScript*" -Name | Select-String "bin")
Now that we have all the Unit Test files we want to run let’s execute them.
foreach ($testFile in $assembliesToTest) {

  $fileNameOnly = Split-Path $testFile -Leaf
  $unitTestFileName = Join-Path $sourceDirectory ($fileNameOnly + "-XunitTestResult.xml")

  $fullNameTestFile = Join-Path $sourceDirectory $testFile

  & $xunitConsole $fullNameTestFile -xml $unitTestFileName
}
In the $unitTestFileName we store the result of our Unit Test execution. We’ll use this in the Publish Test Result build step.
Here’s the full PowerShell script
param (
    [Parameter(Mandatory=$true)][String] $xunitConsole,
    [Parameter(Mandatory=$true)][String] $sourceDirectory
)

if (!(Test-Path $xunitConsole))
{
    throw "xunit.console.exe does not exist. Please check $xunitConsole file."
}

$assembliesToTest = (Get-ChildItem "$sourceDirectory" -Recurse -Include "*Test*.dll" -Exclude "*JavaScript*" -Name | Select-String "bin")

$atLeastOneTestRun = $false

Write-Host "[Debug] ************* Running Unit Tests *************"

foreach ($testFile in $assembliesToTest) {
    Write-Host "[Debug] *************** Testing $testFile ***************"

  $fileNameOnly = Split-Path $testFile -Leaf
  $unitTestFileName = Join-Path $sourceDirectory ($fileNameOnly + "-XunitTestResult.xml")

  $fullNameTestFile = Join-Path $sourceDirectory $testFile

  & $xunitConsole $fullNameTestFile -xml $unitTestFileName
  $atLeastOneTestRun = $true
}

if ($atLeastOneTestRun -eq $false) {
    Write-Output "Unit Tests didn't run!"
	exit(1)
}
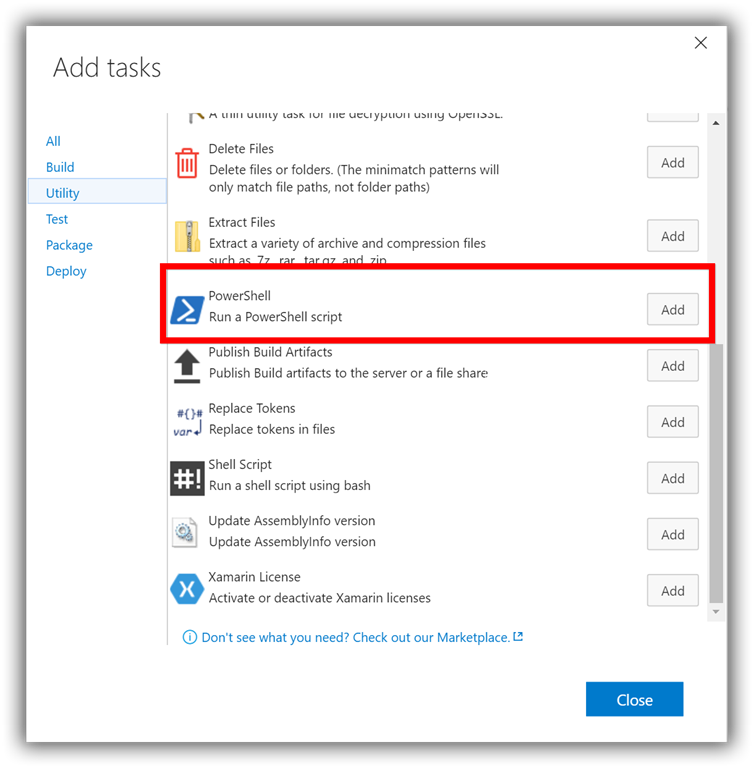
The script is ready, lets add the build steps. Edit the configuration build and in the Add tasks select PowerShell Scripts.
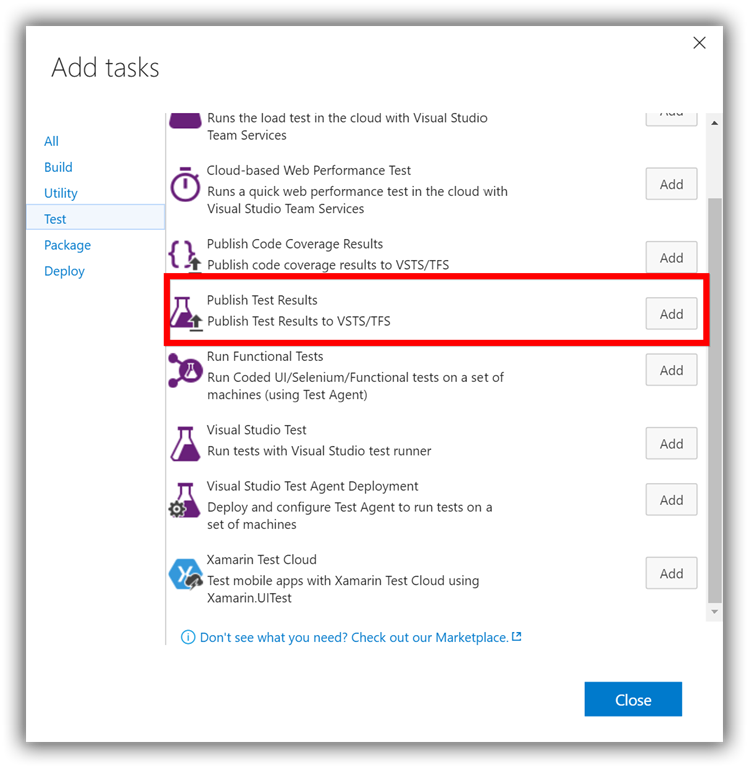
And after that add Publish Test Results.
Close the dialog and make sure both tasks are added after the Build task and before the Publish Artifact task.
Select the PowerShell tasks and configure the following
- Type: File Path
- Script filename: scripts/run-unittests.ps1
- Arguments: -xunitConsole "$(Build.Repository.LocalPath)\packages\xunit.runner.console.2.1.0\tools\xunit.console.exe" -sourceDirectory "$(Build.Repository.LocalPath)"
Select the Publish Test Results and configure these parameters
- Test Result Format: XUnit
- Test Results Files: **/*-XunitTestResult.xml
Now it’s time to run the build. You can see the Tests Results in the Summary page.
Configuring the Visual Studio Test step
For this configuration we will use a Visual Studio Test task. First of all, make sure that the Unit Test project has xunit.runner.visualstudio package if you are using the xUnit framework.
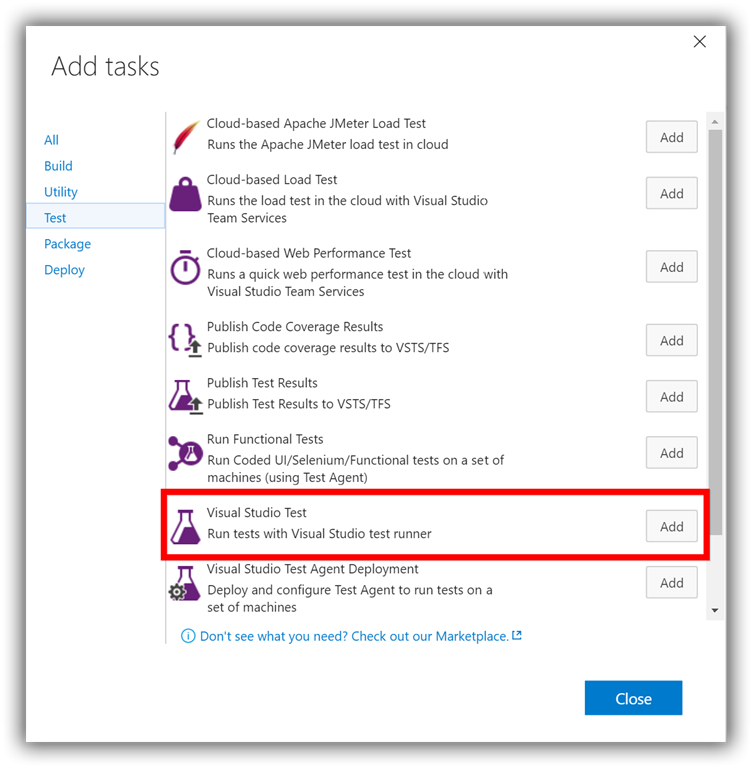
Add a new build step as in the below image. That will be a Visual Studio Test step
You don’t have to do anything in this step, the default parameters will work ok, unless you need more features, like code coverage, running JavaScript, etc.
The default configuration will include all the projects containing the name tests and exclude the obj folder.
Conclusion
In this post I explained two ways you can run your Unit Tests during the build process using VSTS / VSO.
First way is to execute a PowerShell script which will find all the tests you want to run and using a Publish Tests Results to publish the tests. If you’re using xUnit you need to make sure you have xunit.runner.console included as a NuGet package.
The second option is easier but is not as flexible. In this case you need to have xunit.runner.visualstudio NuGet package.


